Embroidery Kits: A Comprehensive Guide To Getting Started
Embroidery Kits: A Comprehensive Guide to Getting Started
Embroidery, the art of embellishing fabric with needle and thread, has captivated crafters for centuries. With the advent of embroidery kits, the craft has become accessible to anyone, regardless of skill level or experience. This comprehensive guide will provide you with everything you need to know about embroidery kits, from choosing the right kit to mastering the basic stitches.
Choosing the Right Embroidery Kit
The first step in your embroidery journey is selecting the right kit. Here are some factors to consider:
Skill Level: Kits are available for beginners, intermediate, and advanced embroiderers. Choose a kit that matches your current skill level to avoid frustration or boredom.
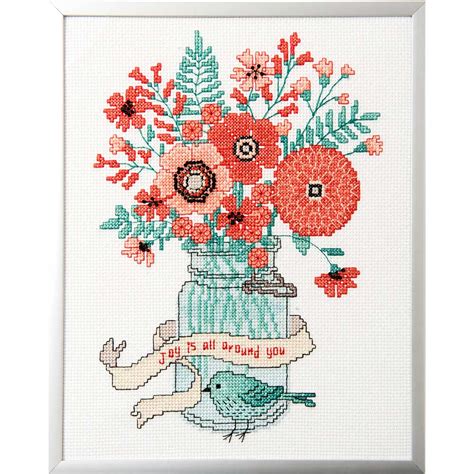
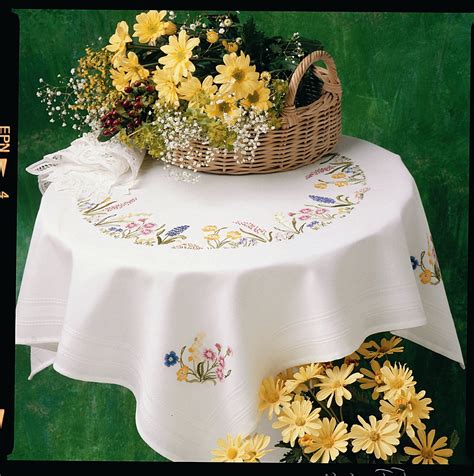
Project Type: Kits come with a variety of project options, such as wall hangings, pillows, and clothing. Consider the type of project you want to create and choose a kit that aligns with your interests.
Design: The design of the embroidery is crucial. Choose a design that you love and that you’re excited to stitch.
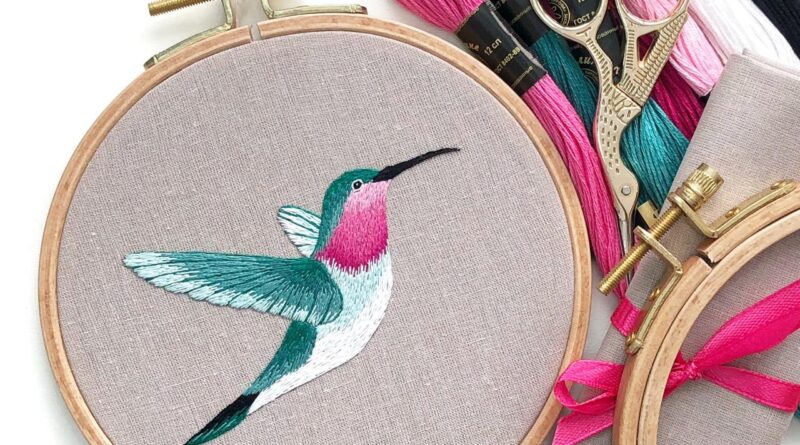
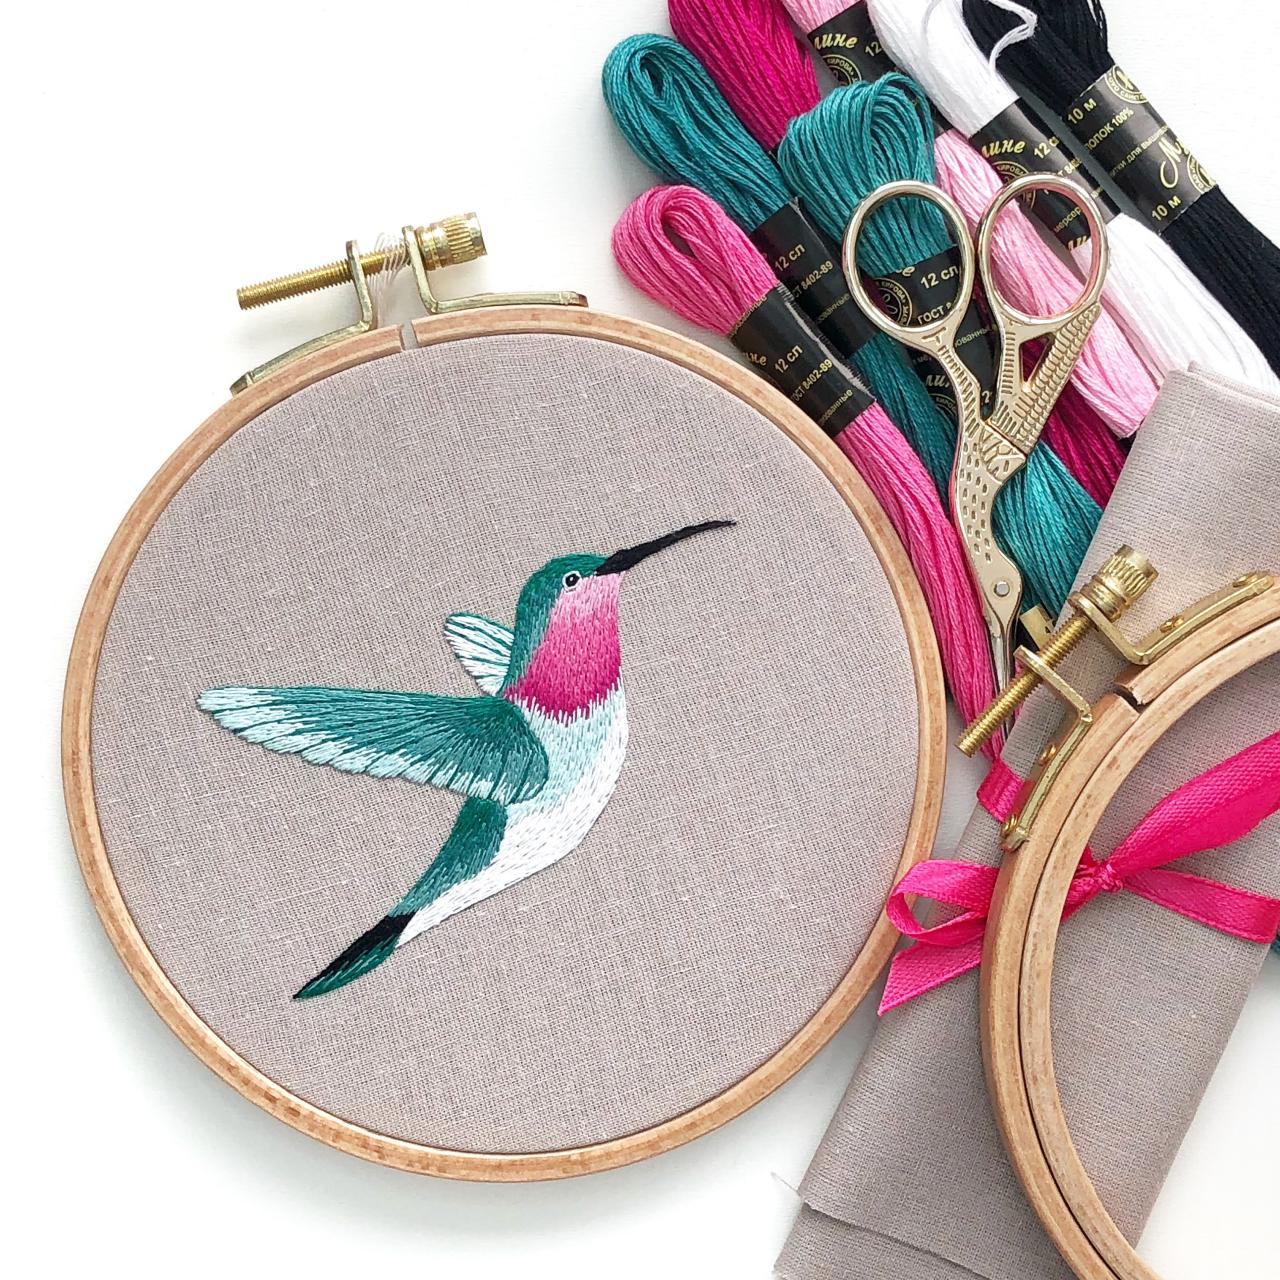
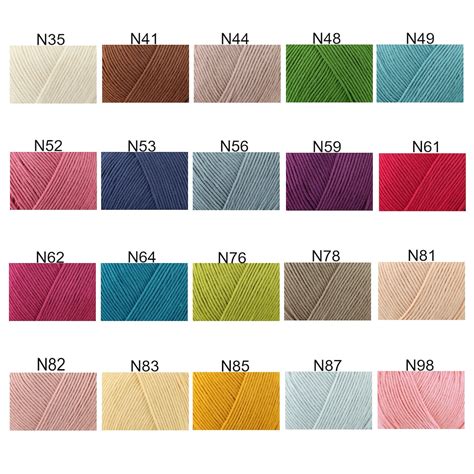
Materials: Kits typically include all the materials you need, including fabric, thread, needles, and instructions. Ensure that the kit contains high-quality materials that will produce a beautiful finished product.
Essential Embroidery Supplies
In addition to the materials included in your kit, you may need some additional supplies:
Embroidery Hoop: This holds the fabric taut while you stitch, making it easier to control your stitches.
Embroidery Scissors: Sharp, pointed scissors are essential for cutting thread and trimming fabric.
Needle Threader: This handy tool helps you thread your needle quickly and easily.
Fabric Marker: Use this to transfer the embroidery design onto the fabric.
Basic Embroidery Stitches
Once you have your kit and supplies, it’s time to learn the basic embroidery stitches. Here are the most common stitches:
Running Stitch: The simplest stitch, used for outlines and filling in small areas.
Backstitch: A strong stitch used for outlines and creating details.
Satin Stitch: A smooth, glossy stitch used for filling in large areas.
Split Stitch: A decorative stitch used for filling in areas and creating texture.
French Knot: A small, raised knot used for adding details and embellishments.
Getting Started with Your Embroidery Kit
1. Prepare the Fabric: Transfer the embroidery design onto the fabric using a fabric marker.
2. Thread the Needle: Use a needle threader to thread the needle with the provided thread.
3. Start Stitching: Begin stitching the design, following the instructions in the kit.
4. Secure the Thread: When you finish stitching, secure the thread by tying a knot or using a backstitch.
Tips for Successful Embroidery
Use a Sharp Needle: A sharp needle will pierce the fabric easily and prevent snags.
Keep Your Stitches Even: Consistent stitch length and tension will create a neat and professional-looking finish.
Don’t Pull the Thread Too Tight: This can distort the fabric and make it difficult to stitch.
Take Breaks: Don’t try to finish your embroidery project in one sitting. Take breaks to avoid eye strain and hand fatigue.
Practice Makes Perfect: The more you practice, the better your embroidery skills will become.
Troubleshooting Common Embroidery Problems
Thread Breaks: Use a sharp needle and avoid pulling the thread too tightly.
Fabric Puckering: Use a larger embroidery hoop or loosen the tension on the fabric.
Stitches Not Laying Flat: Ensure that your stitches are even and that you’re not pulling the thread too tightly.
Design Not Centered: Use a fabric marker to transfer the design accurately onto the fabric.
Advanced Embroidery Techniques
Once you’ve mastered the basics, you can explore more advanced embroidery techniques:
Appliqué: Attaching fabric pieces to the base fabric to create a three-dimensional effect.
Embroidery on Clothing: Embroidering designs onto clothing items to personalize and embellish them.
Freehand Embroidery: Creating embroidery designs without using a pre-printed pattern.
Machine Embroidery: Using an embroidery machine to create intricate designs.
Conclusion
Embroidery kits are an excellent way to learn the art of embroidery and create beautiful handmade projects. By choosing the right kit, mastering the basic stitches, and following these tips, you can embark on a rewarding and enjoyable embroidery journey. Whether you’re a beginner or an experienced embroiderer, there’s always something new to learn and create with embroidery kits.
5 Best Embroidery Kits for Beginners and Experts
Embroidery is a beautiful and rewarding craft that can be enjoyed by people of all ages and skill levels. Whether you’re a complete beginner or an experienced embroiderer, there’s an embroidery kit out there that’s perfect for you.
Here are five of the best embroidery kits on the market:
1. DMC Natura Just Cotton Embroidery Floss Kit
This kit is perfect for beginners who want to learn the basics of embroidery. It includes everything you need to get started, including 100 skeins of high-quality DMC cotton floss, a needle, a hoop, and a pattern book.
2. Dimensions Learn-a-Craft Counted Cross Stitch Kit
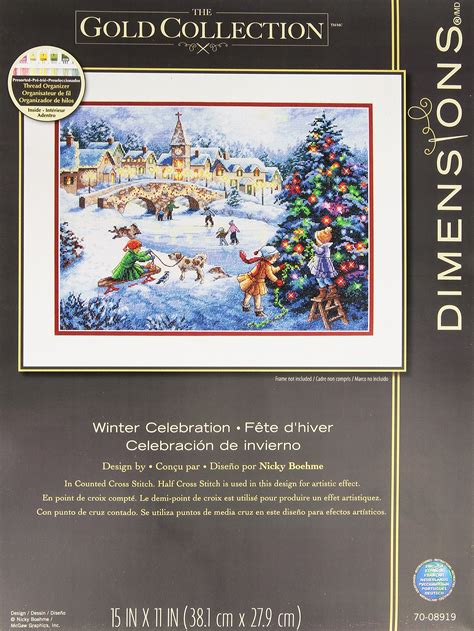
This kit is perfect for beginners who want to learn how to cross stitch. It includes everything you need to get started, including aida cloth, embroidery floss, a needle, and a pattern.
3. Bucilla Embroidery Kit
This kit is perfect for beginners and experienced embroiderers alike. It includes everything you need to create a beautiful embroidered piece, including fabric, embroidery floss, a needle, and a pattern.
4. Anchor Embroidery Kit
This kit is perfect for experienced embroiderers who want to create more complex pieces. It includes a variety of high-quality embroidery threads, needles, and a pattern.
5. Sublime Stitching Embroidery Kit

This kit is perfect for experienced embroiderers who want to create unique and modern pieces. It includes a variety of high-quality embroidery threads, needles, and a pattern.